Feeds & Channels
Your platform will contain an Activity Feed (default feed), which is often used to post the majority of your platform’s content. But in addition to the default feed, you can create up to five additional custom feeds to help you better organise your content. You could even use a custom feed as your platform’s home page.
Custom feeds contain channels to help categorise your content further, and it is the channel that the content is posted to. If you consider a custom feed as a ‘book’, the channels are the chapter titles.
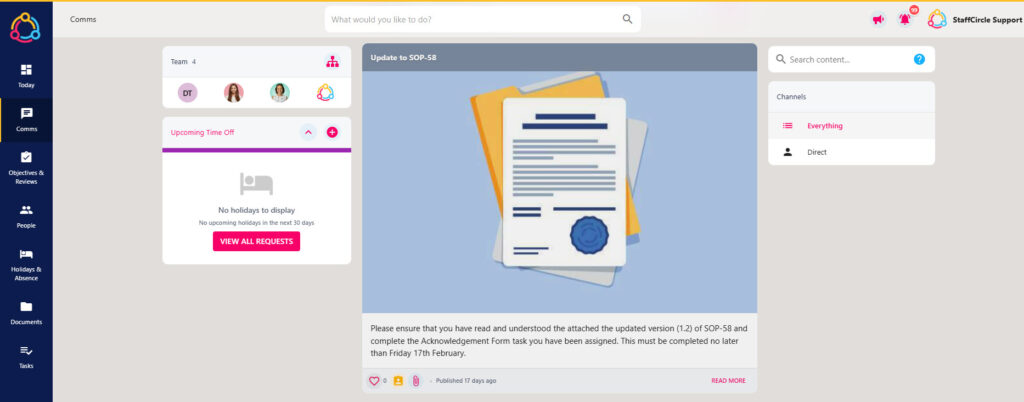
When posting content to StaffCircle you can specify whether this is published to your Activity Feed (default feed), or a channel with your custom feed. Custom feed title display when the user hovers over the Feed icon in the left-hand side bar.
Create a Custom Feed
You can create up to five custom feeds to categorise the content that you publish to your platform. Some great examples include dedicated spaces for social activities and company policy documentation. Once you have created your custom feed, you can add channels which will categorise your content further.
Step One
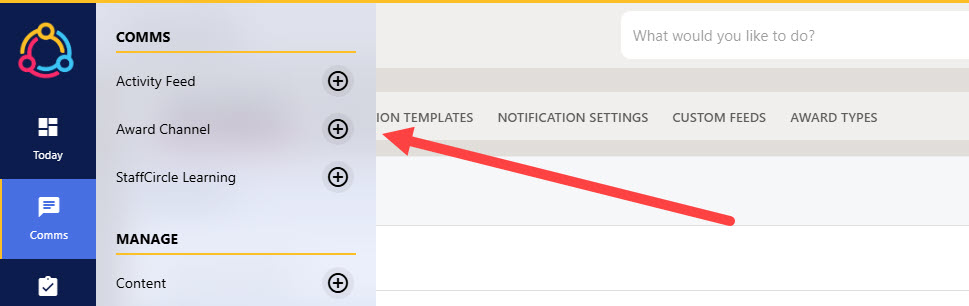
Hover over the Comms section of the side-bar, then navigate to: Configuration ➡️ Custom Feeds. Select the ➕ next to Custom Feeds to open the ADD FEED pop-up in the centre of the page.
Step Two
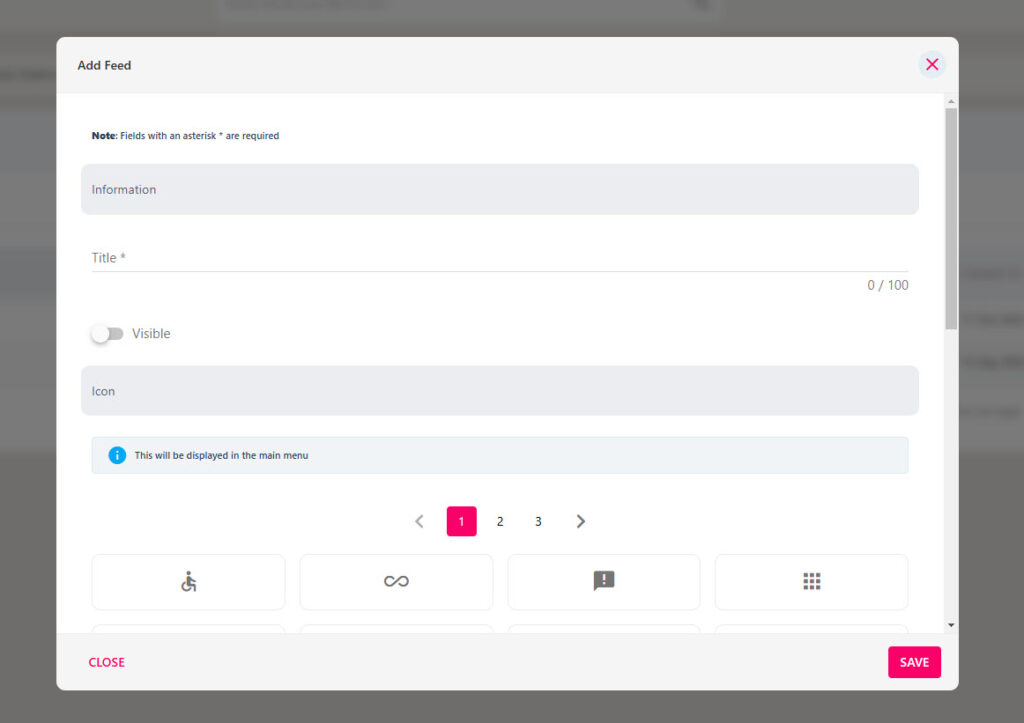
Populate the Title field, then turn on the visibility toggle to make this visible to your platform users (you may wish to come back an enable this after you’ve finished configuring your feed).
Disregard the icon/image section as this is a legacy feature of the platform, the title of the custom feed will display in the right-hand side-bar when hovering over the Feed icon and an image is no longer used.
Step Three
Click the SAVE button to add the custom feed to the platform. You can now start to add the feed’s channels which will help you to categorise your content.
Configure or Delete a Custom Feed
You can configure a custom feed to change its title and visibility. Remember that this is the feed itself and not the feed’s associated channels. The channel is where the content is posted and where the audience and notifications are defined.
The process of configuring and deleting custom feeds are done in the same space,
Step One
Hover the Comms section of the sidebar, then navigate to: Configuration ➡️ Custom Feeds. Select the Custom Feeds title to view a list of your custom feeds.

Step Two
To configure the feed, select the pencil icon next to the custom feed. This will open the UPDATE FEED pop-up. Then move to step three.
To delete the feed, click the red trash can icon next to the custom feed. A pop-up will confirm you wish to complete the action – select YES, REMOVE FEED to delete the channel.
If the red trash can icon is not visible, then the content published to the feed’s channels must be deleted or moved to another feed first.
Step Three
Update the fields within the form, then click the SAVE button in the bottom right-hand corner of the screen to save any changes.
Create a Channel
Once you have created a custom feed, you will then be able to add the channels – this is where the content will be posted. When you publish content to a custom feed you can choose the channel that it is posted to.
Step One
Hover over the Comms section of the sidebar, then navigate to: Configuration ➡️ Custom Feeds. Select the Custom Feeds title to display a list of custom feeds in your platform. Select the name of the custom feed from the list. This will open the feed’s details page.

Step Two
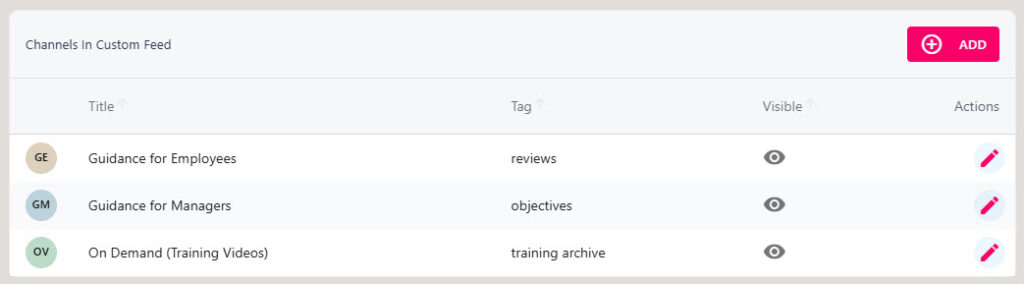
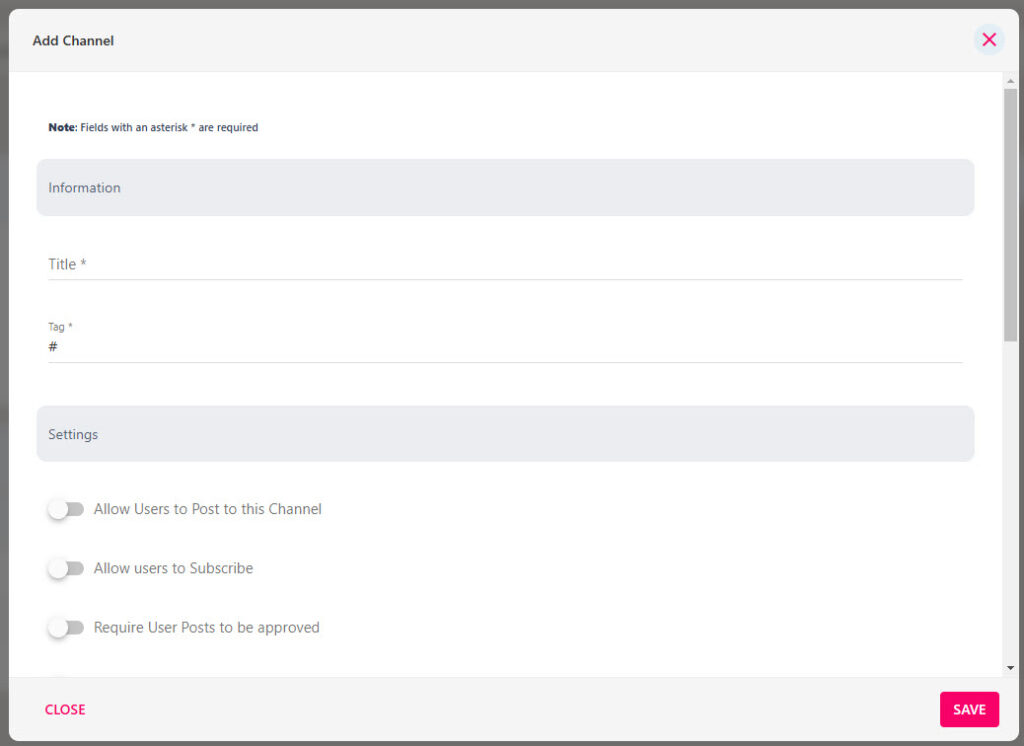
Towards the lower half of the page, you will see the custom channels – this will appear blank initially if you have just created your custom feed. Click the ADD button to open the ADD CHANNEL pop up where you can specify the characteristics of your channel.
Step Three
Specify a title and tag for the channel. The title of the channel is visible on the right-hand side when the user is navigating your custom feed. If you think of a custom feed as a ‘book’, your channels are the chapter ‘titles’.
Step Four
There are several toggles in the Settings section of the form which will help define the characteristics of the channel.
| Allow Users to Post to this Channel | Enabling this toggle allows any user who has access to the channel to publish content to it. These are ideal for social channels. |
| Allow users to subscribe | Allows users to opt in/subscribe to the channel. Before subscribing, they won’t be able to view the channel’s content, nor will they receive any notifications when a post is made. |
| Require User Posts to be approved | Enables an approval process when users publish content to the channel. Once enabled, you can specify which users will authorise the posts. Approvers receive a notification when a post is made. |
| Allow Users To Assign Awards | Employees with access to the channel will be able to assign peer to peer awards publically. |
| Channel is Visible in Custom Feed | Essentially makes the channel “live”. Enable this if you are ready to use your custom feed. |
Step Five
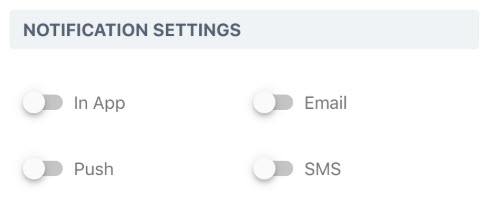
Switch on the toggles within the Notification Settings area to control which notifications a user will receive when a post is made to that channel.
Step Six
Choose who has access to the channel – whether this is for all employees, or dedicated, employees, departments, or sites.
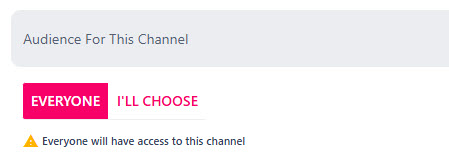
When you publish content to a custom feed’s channel, it will inherit the notifications and audience you specified in steps five and six. This cannot be adjusted on a post-by-post basis.
Step Seven
Click the SAVE button to add the channel to the custom feed. You can now publish content to the channel you’ve just created, or you can add more channels to the custom feeds.
Configure or Delete a Custom Feed
You can configure a channel to change its name, the audience (who can see the content in the post), and the notifications (how users are notified).
Step One
Hover over the Comms section of the sidebar, then navigate to: Configuration ➡️ Custom Feeds. Select the Custom Feeds title to display a list of custom feeds in your platform. Select the name of the custom feed from the list. This will open the feed’s details page.
Step Two
Scroll to the bottom of the page to view the channels within the custom feed. To configure the channel, select the pencil icon in the action area. This will open the UPDATE CHANNEL pop-up. Then move to step three.
To delete the channel, click the red trash can icon in the actions area. A pop-up will confirm you wish to complete the action – select YES, REMOVE FEED to delete the channel.
To configure the feed, select the pencil icon next to the custom feed. This will open the UPDATE FEED pop-up. Then move to step three.
If the red trash can icon is not visible, then the content published to the feed’s channels must be deleted or moved to another feed first.
Step Three
Update the fields within the form, then click the SAVE button in the bottom right-hand corner of the screen to save any changes.